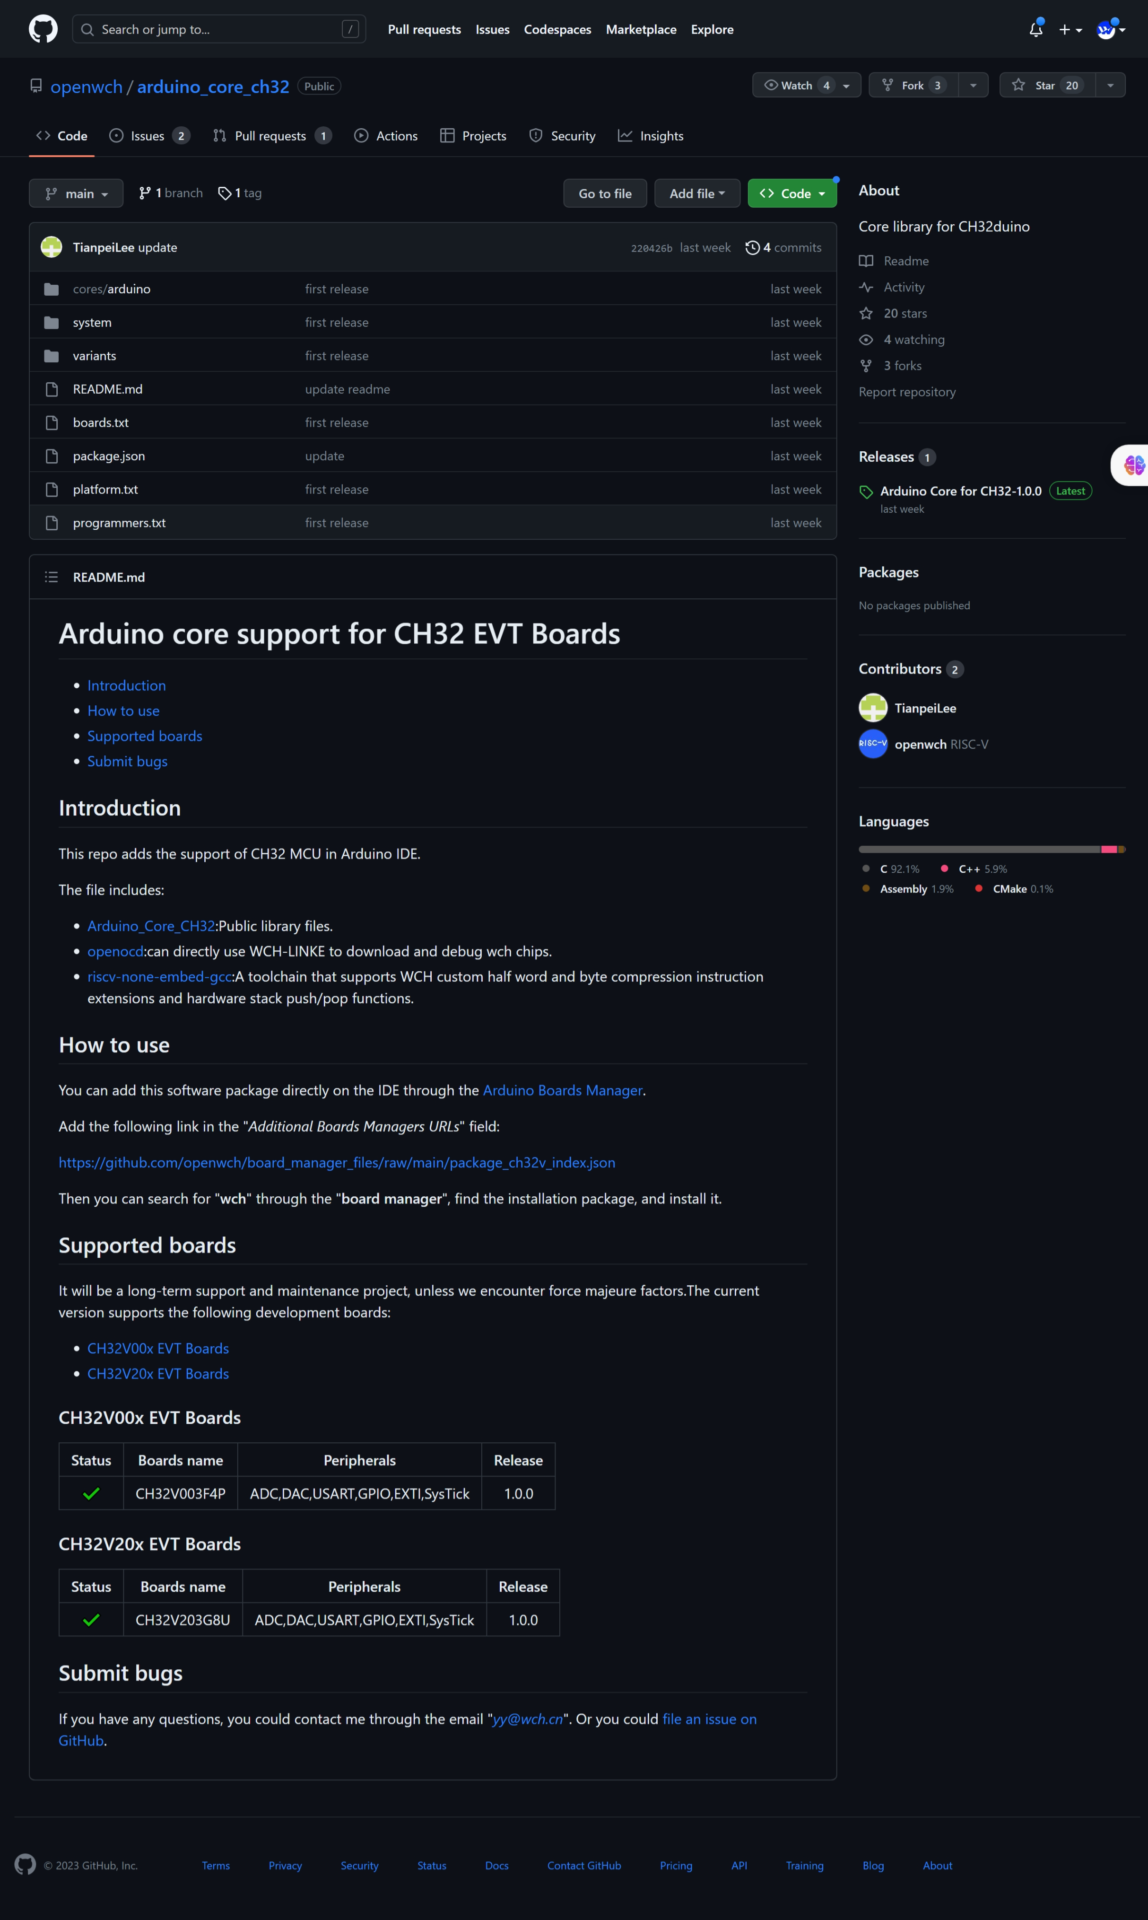
ในวันที่ 05/06/2566 ตามเวลาประเทศไทย ทางช่อง Youtube ของ RISC-V ที่เป็นของ WCH ได้เปิดตัว CH32V00x และ CH32V20x ให้รองรับการใช้งานกับ Arduino IDE ได้แล้ว ทำให้สาย Arduino สามารถใช้งาน CH32V00x และ CH32V20x ได้ง่ายและสะดวกขึ้น โดยเป็นแบบ Open Source ผ่านทาง openwch/arduino_core_ch32: Core library for CH32duino (github.com) สามารถใช้งานได้บน WINDOWS และ LINUX
วิธีการติดตั้ง
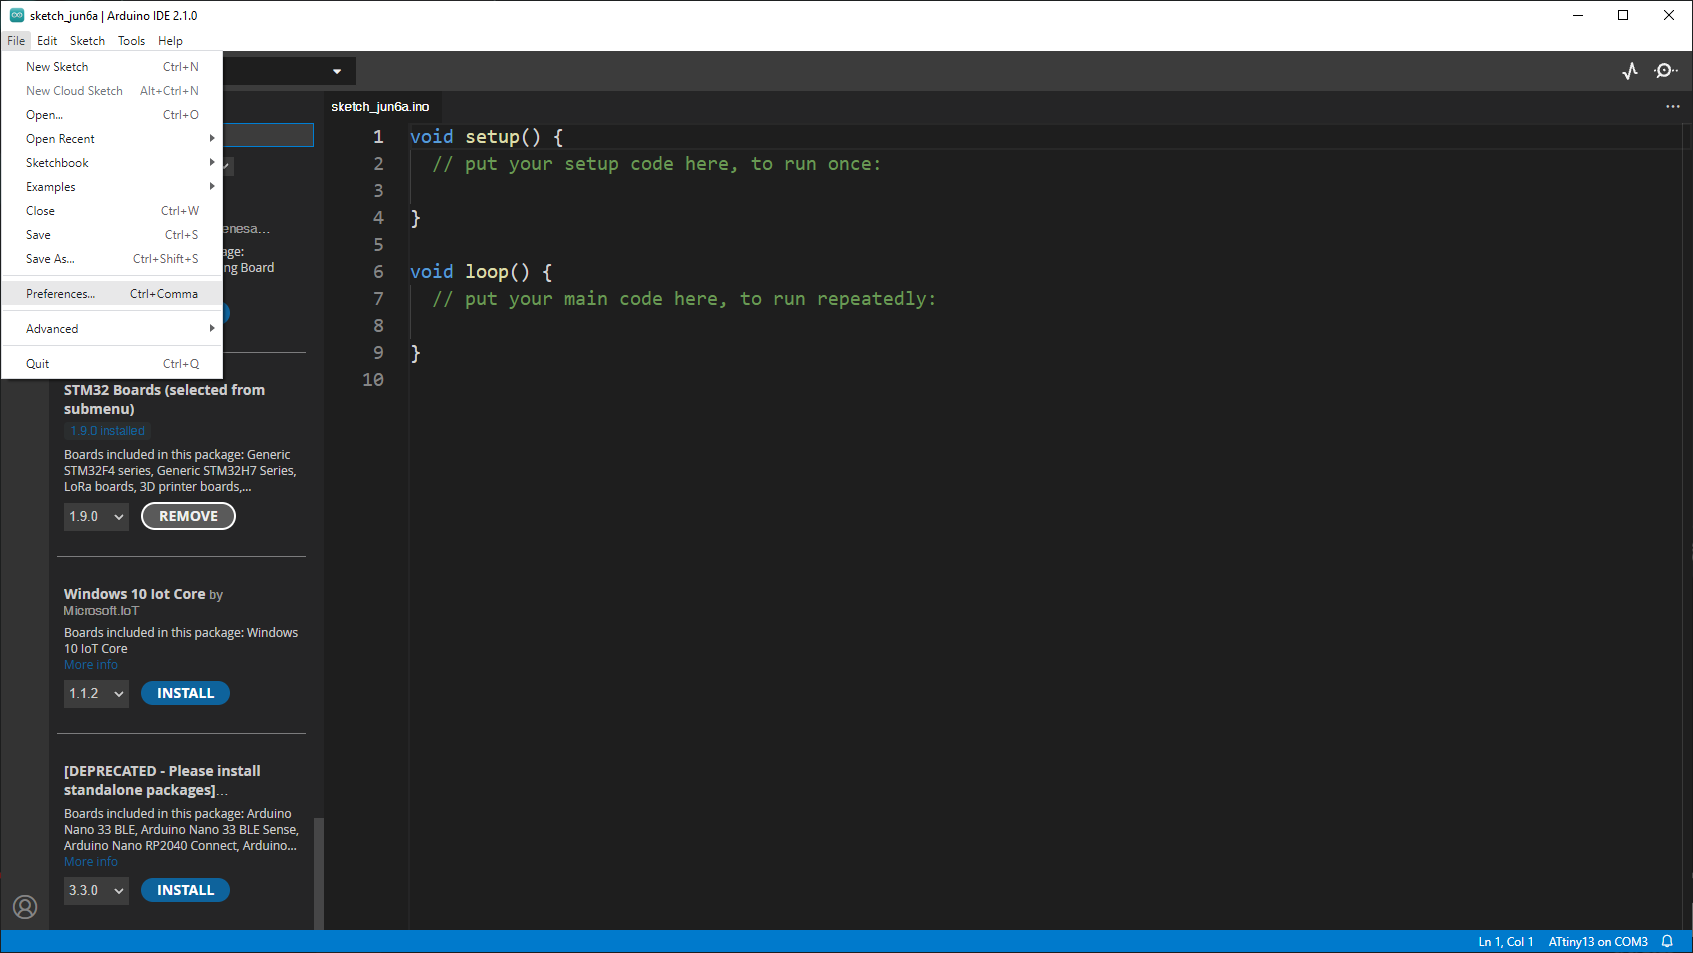
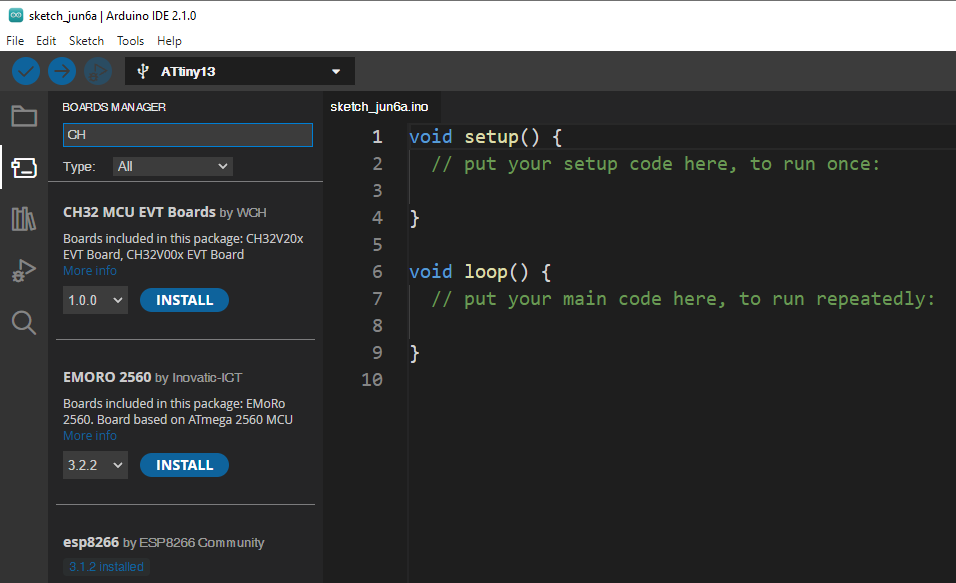
ขั้นตอนในการติดตั้ง บน Arduino 2.1.0
เลือกที่ Menu > File > Preference
กดเพิ่ม Board ที่

ให้เพิ่ม URL :
https://github.com/openwch/board_manager_files/raw/main/package_ch32v_index.json
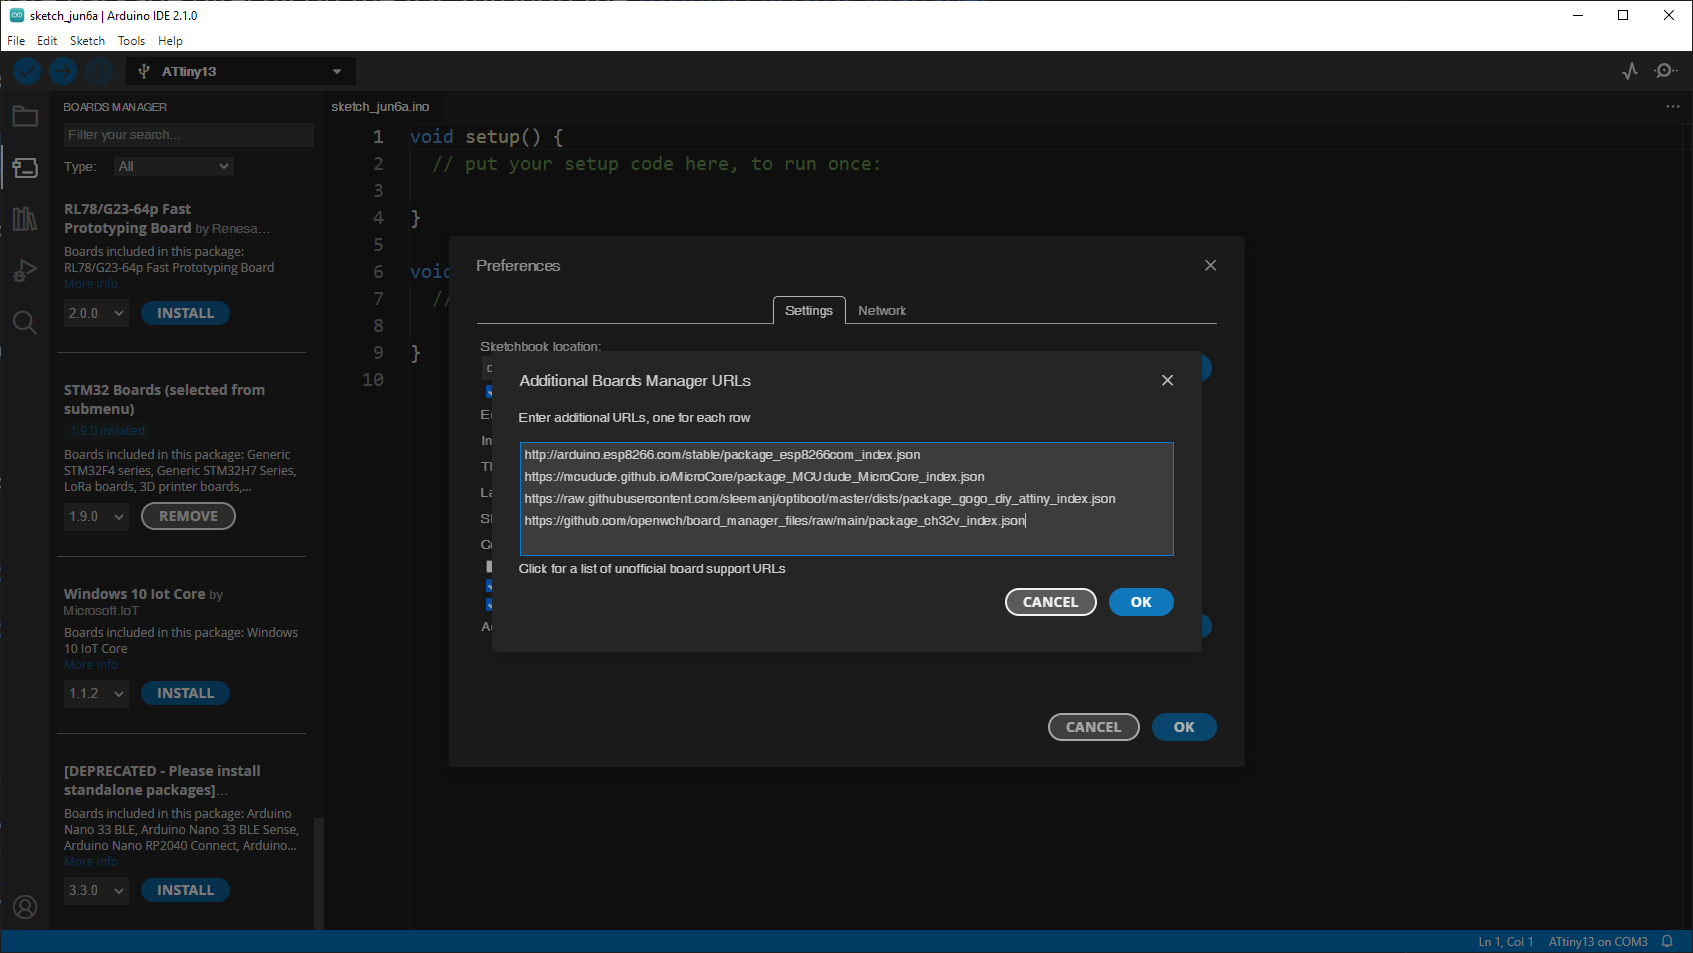
ในบรรทัดล่างสุดแล้วกด OK แล้วเลือกที่ Board Manager ค้นหาคำว่า CH จะพบ CH32 MCU แล้วกด INSTALL
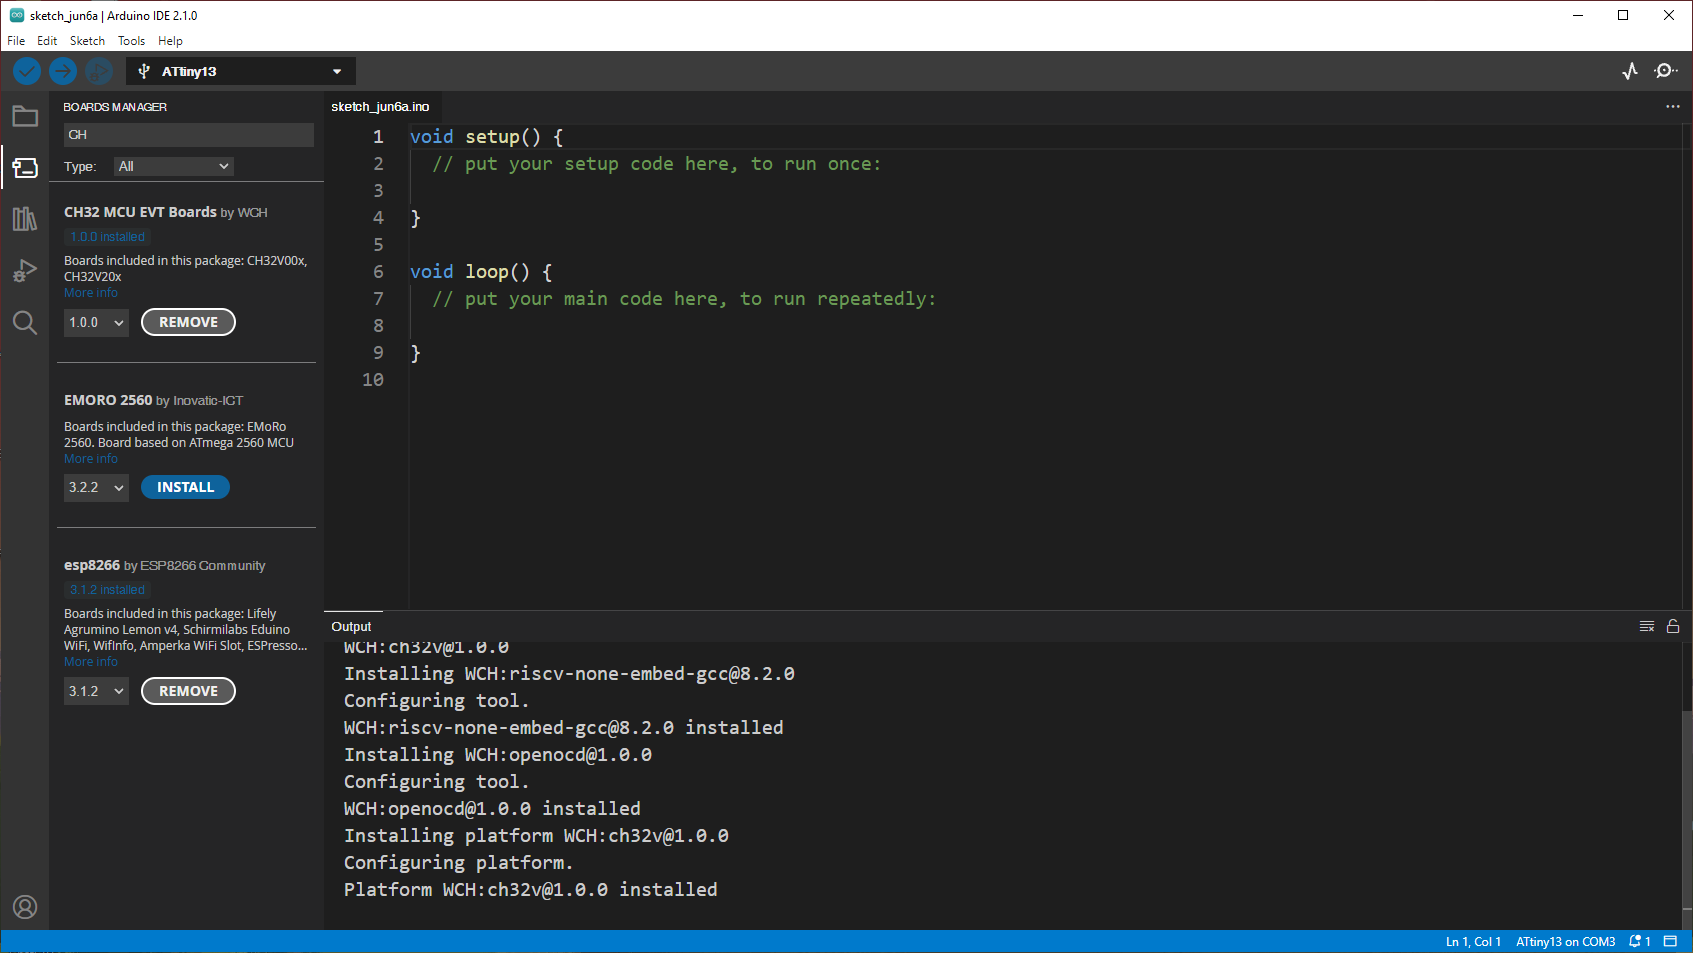
รอโปรแกรมติดตั้งจนเสร็จ

ตัวอย่าง Code ADC to USART
uint16_t adc_value = 0;
#define ADC_PIN A2
void setup() {
  // put your setup code here, to run once:
  Serial.begin(115200);
  Serial.printf("Hello CH32 To Arduino!");
}

void loop() {
  // put your main code here, to run repeatedly:
  adc_value = analogRead(ADC_PIN);
  Serial.printf("adc_value = %d\r\n", adc_value);
  delay(500);
}
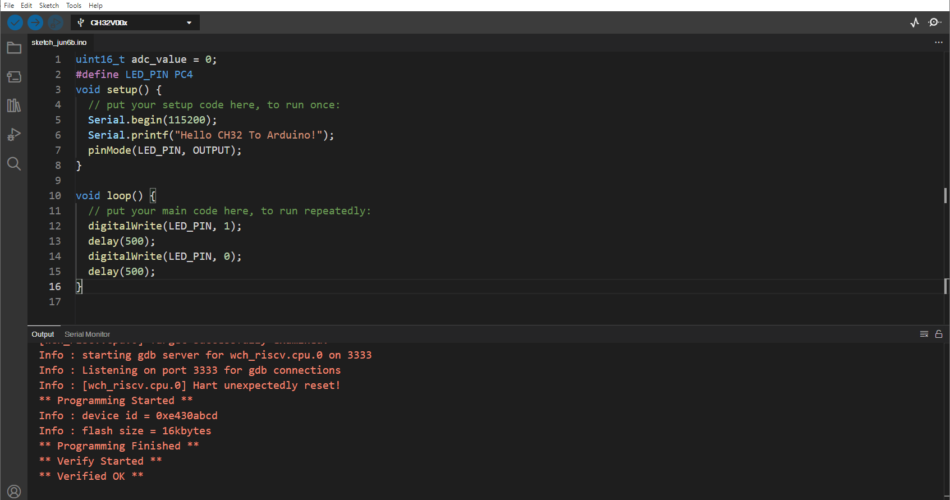
uint16_t adc_value = 0;
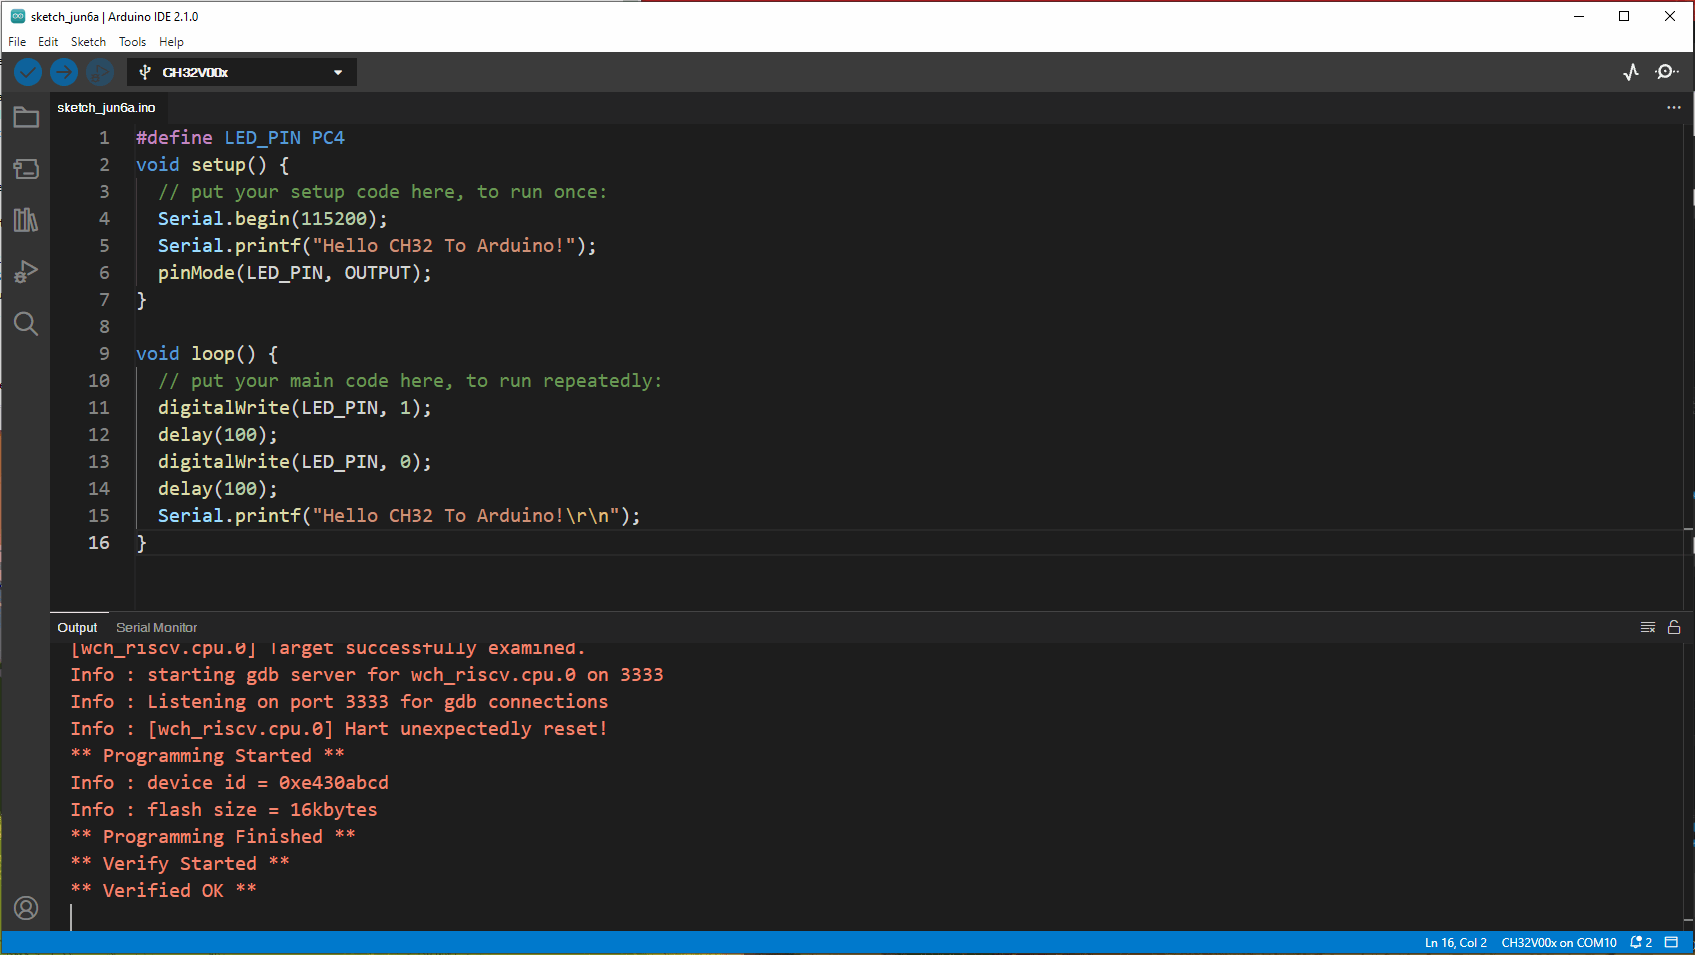
#define LED_PIN PC4
void setup() {
// put your setup code here, to run once:
Serial.begin(115200);
Serial.printf("Hello CH32 To Arduino!");
pinMode(LED_PIN, OUTPUT);
}
void loop() {
// put your main code here, to run repeatedly:
digitalWrite(LED_PIN, 1);
delay(500);
digitalWrite(LED_PIN, 0);
delay(500);
}
วิดีโอต้นฉบับ
สนับสนุนสินค้าที่ร้านค้าของเรา เพื่อเป็นกำลังใจ